<<< Rasberry Pi Guides
Enable VNC
I prefer to run my Rasberry Pi in headless mode and so I need another method for connecting to my environment.
My method of choice is Virtual Network Computing or VNC, and this page takes you through the process of setting up the VNC server on your Rasberry Pi
Note: you will need a suitable VNC client to be able to connect to the Rasberry Pi once you have completed this configuration
First install Real VNC
pi@raspberrypi:~ $ sudo apt install realvnc-vnc-server
realvnc-vnc-server is already the newest version (6.7.1.42348).
0 upgraded, 0 newly installed, 0 to remove and 0 not upgraded.
Then enable VNC
This is done by running the rasberry pi configuration utility.
pi@raspberrypi:~ $ sudo raspi-config
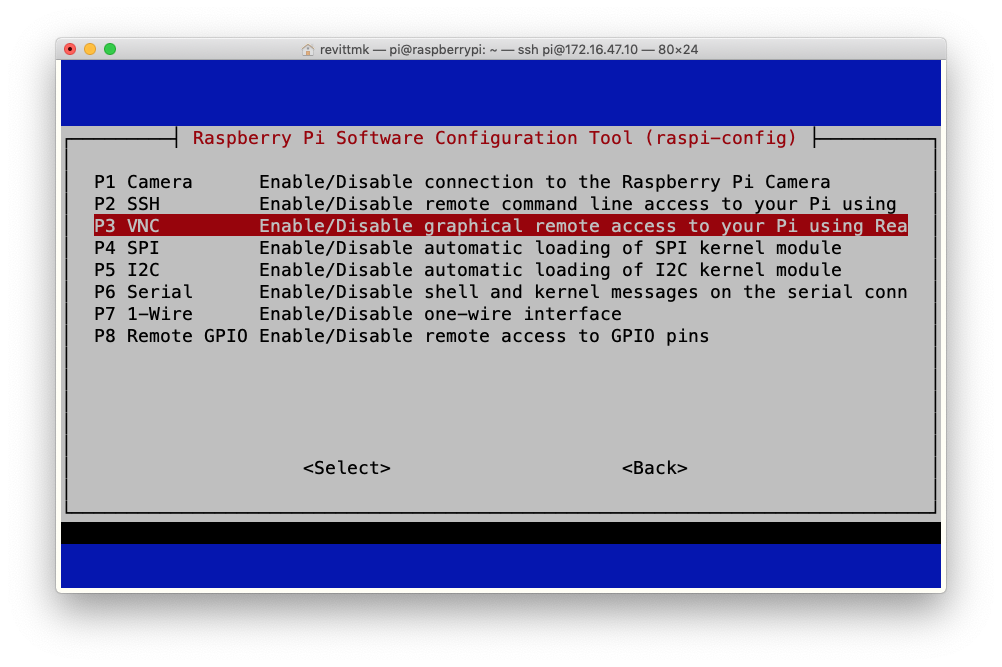
This will launch the configuration tool where you need to select option 5:- Interfacing Options

Then select option P3:- VNC
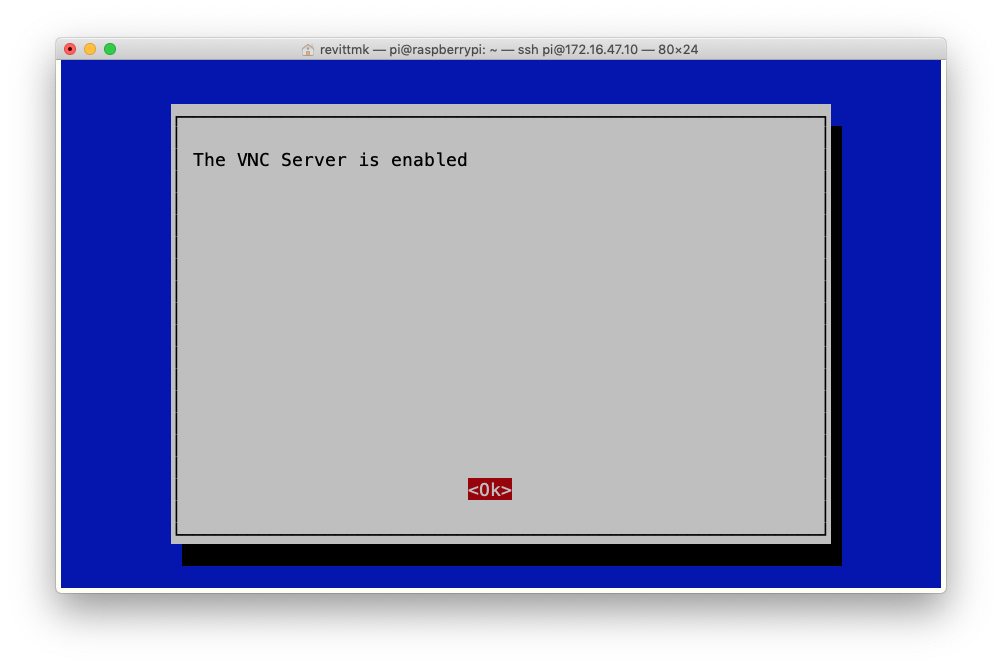
And achknowledge that you want to enable VNC

You should get an acknowledgement which you need to accept
And then make sure you Tab to the Finish box to exit

The next step is to enable password authentication
You do this by editing the configuration file, which should be empty
pi@raspberrypi:~ $ cat /etc/vnc/config.d/common.custom
If so issue this command, set the password, reboot the system and you are good to go
pi@raspberrypi:~ $ sudo echo "Authentication=VncAuth" > /etc/vnc/config.d/common.custom
pi@raspberrypi:~ $ cat /etc/vnc/config.d/common.custom
Authentication=VncAuth
pi@raspberrypi:~ $
pi@raspberrypi:~ $ sudo raspi-config
pi@raspberrypi:~ $ sudo vncpasswd -service
Setting "Password" VNC parameter for Service Mode server
Password:
Verify:
Successfully set "Password" VNC parameter in /root/.vnc/config.d/vncserver-x11
pi@raspberrypi:~ $ sudo vncpasswd -service
pi@raspberrypi:~ $ sudo reboot
And now we can start VNC
For those that perfer to run VNC as and when requried follow these commands the start VNC, the second command allows you to set the display size to something more reasonable
When connecting to the VNC server the port to use is the value shown plus 5900, so to connect to the first example you would use 172.16.47.11:5901 and for the second example you would use 172.16.47.11:5902
pi@weewx:~ $ vncserver
VNC(R) Server 6.7.2 (r42622) ARMv6 (May 13 2020 19:34:20)
Copyright (C) 2002-2020 RealVNC Ltd.

Log file is /home/pi/.vnc/weewx:1.log
New desktop is weewx:1 (172.16.47.11:1)

# uncomment to force a console size. By default it will be display's size minus
# overscan.
#framebuffer_width=1280
#framebuffer_height=720

pi@weewx:~ $ vncserver -geometry 1280x1024
VNC(R) Server 6.7.2 (r42622) ARMv6 (May 13 2020 19:34:20)
Copyright (C) 2002-2020 RealVNC Ltd.

Log file is /home/pi/.vnc/weewx:2.log
New desktop is weewx:2 (172.16.47.11:2)
Now that it is running we need to be able to stop it, that is done with these commands, Note that the number corrosponds to the value displayed when VNC was started
pi@weewx:~ $ vncserver -kill :1
pi@weewx:~ $ vncserver -kill :2
Most people simply start VNC as they require it, but it is also possible to start VNC at system boot time, to do that you simply add the following lines to the /etc/rc.local before the exit 0 command
# Print the IP address
_IP=$(hostname -I) || true
if [ "$_IP" ]; then
  printf "My IP address is %s\n" "$_IP"
fi

/bin/sh -c '/usr/bin/sudo -u pi /usr/bin/vncserver -depth 24 -geometry 1280x1024 :0>/dev/null 2>&;1'

exit 0