<<< Migrating from Mavericks >>>
Installing a New Version of Yosemite
First insert the formatted USB drive into a spare USB port on your OSX Server to make sure that it is visible to the boot process, then restart the server.
Note that I had to use a cable connected keyboard rather than my Bluetooth keyboard at this point
- As soon as the start-up chime plays, press the Option key (Alt).
- Choose the USB drive on the start-up drive selection screen and hit Enter/Return on the keyboard
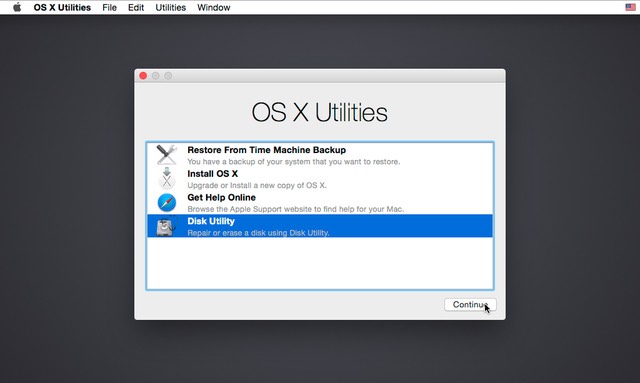
- Wait until the Yosemite installer appears on screen. This could take a few seconds or minutes.
- Click on Disk Utility and then hit Continue
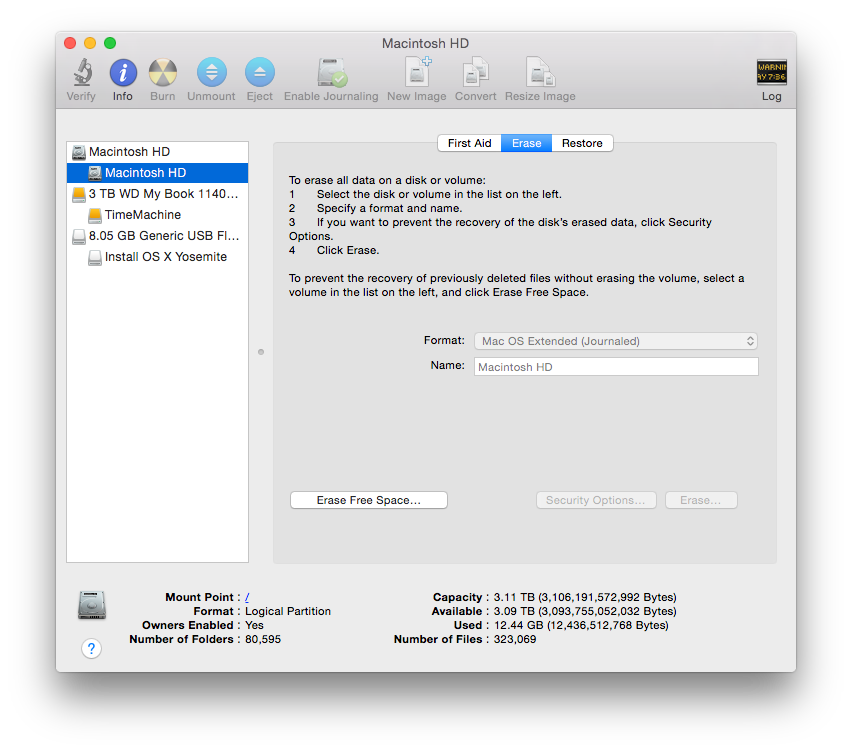
WARNING: Make sure that you have backed up all important files before completing the next step
Click on Macintosh HD from the left hand-side pane
- then hit Erase tab on the top-right portion of the window
- Leave all the settings at their default values
- Then hit Erase button at the bottom right
- This will wipe all files stored on your startup hard drive.
When the erasing process is complete close the window, the red butoon on the top left, to return to the first screen where you selected Disk Utility
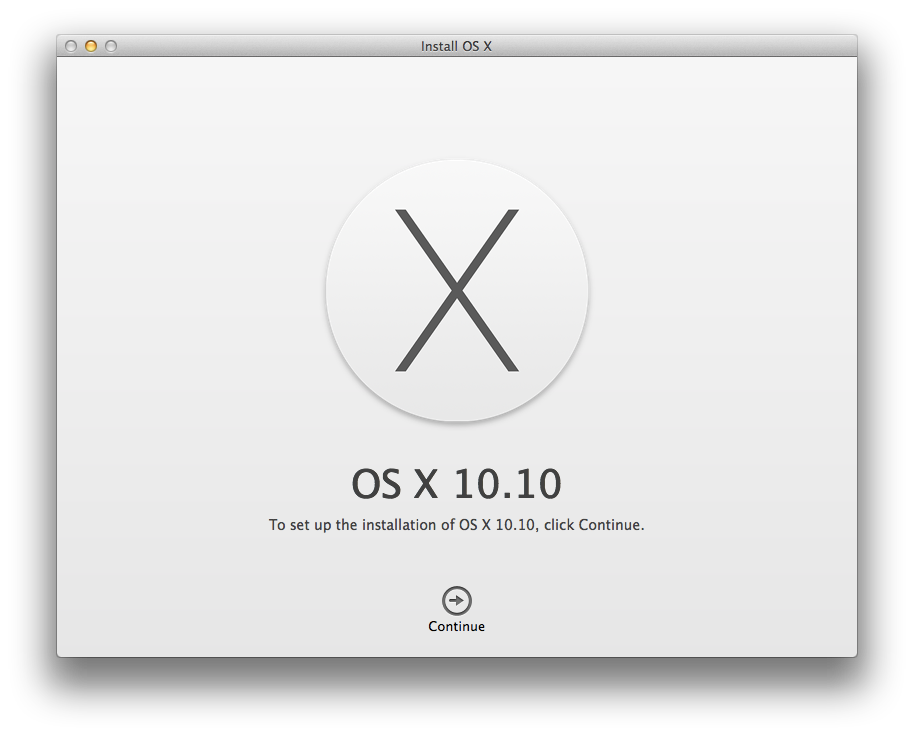
Now click on Install OS X and then hit Continue
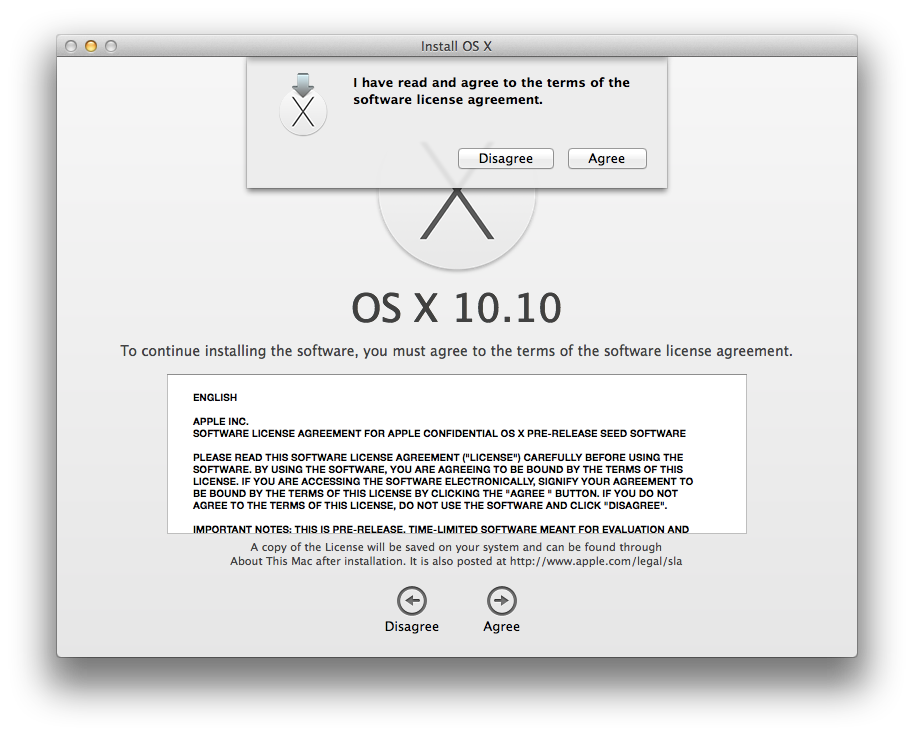
Agree to the License agreement
Choose the Macintosh HD partition you erased earlier and then click Install

Then sit back and wait
- My installation showed a 4 minute prepare time, and then spent several minutes sitting on a message “About 1 second remaining”.
- It did however successfully move onto the next stage eventually.
- The Installation stage had an estimated complete time of 14 minutes, and then spent several minutes sitting on a message “About 1 minute remaining”
- But as before it did eventually reboot into Yosemite.
And that is it, a very straightfoward install.