<<< Replacing DynDNS with Route 53 >>>
Updating IP Address in Route 53
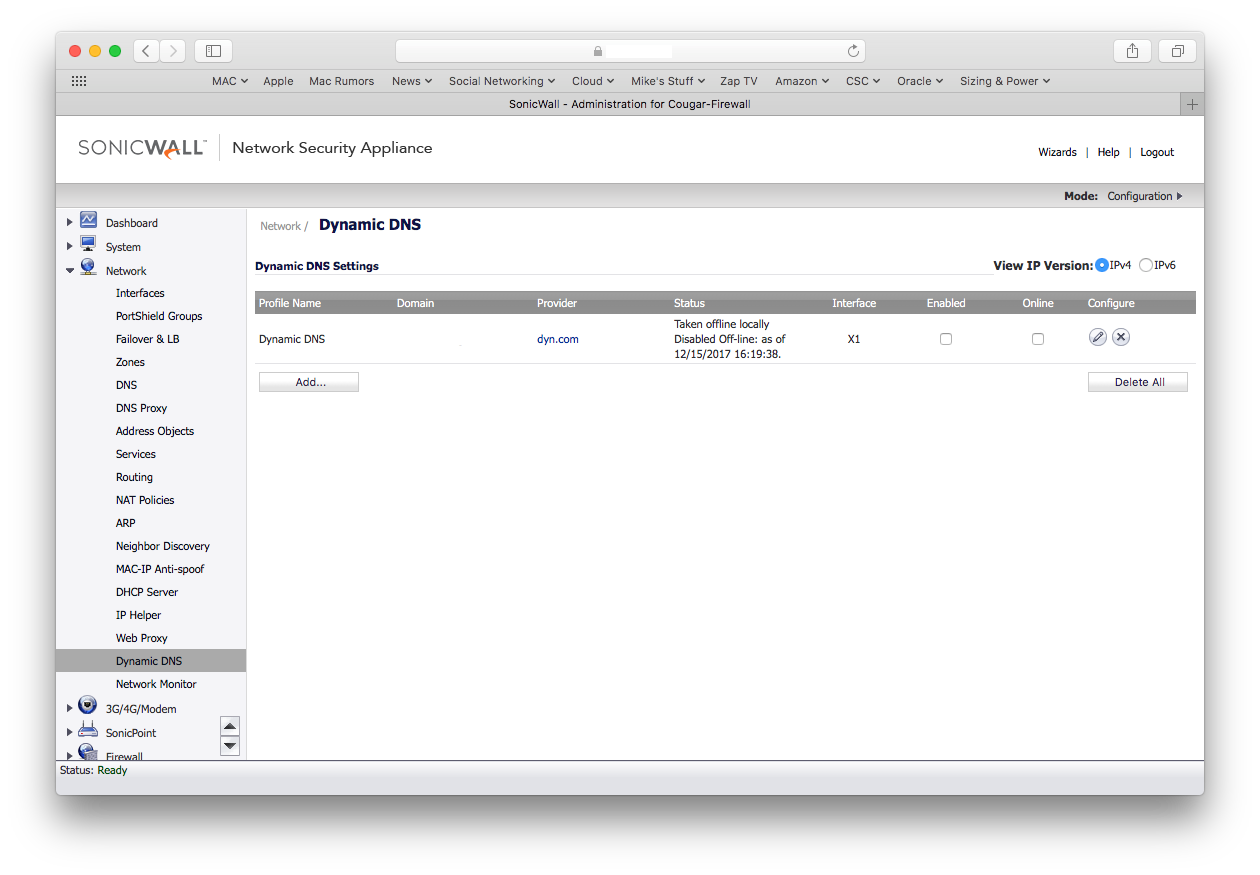
On of the primary reasons for using DynDNS in the first place is that most Firewalls allow you to configure DynDNS to provide continual updates of the URL address. If we are going to remove DynDNS, then we will need an alternative.
The answer came from a blog by Will Warren and it is his code that I am using on my internal Mac.
The following details the steps that I took to get this all successfully working
NOTE: The following commands are for macOS Sierra, version 10.12.6, but should work equally well on other macOS versions.
Install Python
This will update, and/or install Python
$ curl -O https://bootstrap.pypa.io/get-pip.py
  % Total    % Received % Xferd  Average Speed   Time    Time     Time  Current
                                 Dload  Upload   Total   Spent    Left  Speed
100 1558k  100 1558k    0     0   854k      0  0:00:01  0:00:01 --:--:--  854k
Then install PIP
It is likely that Pip is not installed on your Mac, this is easily checked
$ pip --version
-bash: pip: command not found
If, as shown above it is not install, then follow these commands to install it
$ python3 get-pip.py --user
  % Total    % Received % Xferd  Average Speed   Time    Time     Time  Current
                                 Dload  Upload   Total   Spent    Left  Speed
100 1558k  100 1558k    0     0   854k      0  0:00:01  0:00:01 --:--:--  854k
Then install AWS CLI
The AWS instructions to install awscli can be found here, or simply follow the instructions below
$ pip3 install awscli --upgrade --user
Create AWS Credentials
Before you can connect to awscli, you have to create some credentials which will allow you to run commands.
So it is back to the AWS Console and this time we are going to connect to IAM
Create New Group
The first thing we need to do is create a group, this is done by selecting the Groups option on the left pane and pressing the Create New Group button.
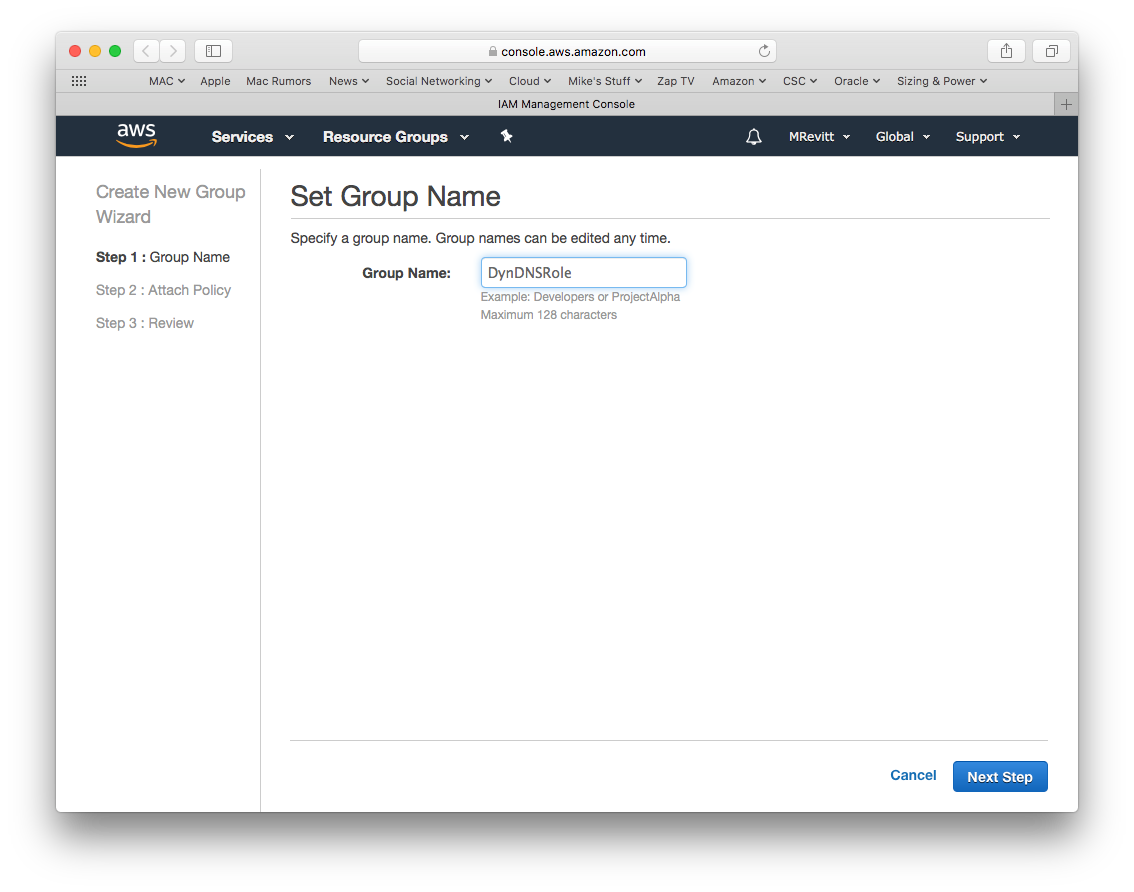
Enter you desired name for the Group and press the Next Step button
Once in the next screen enter “route” next to Policy Type; This will restrict the list to the 4 Route 53 Policies.
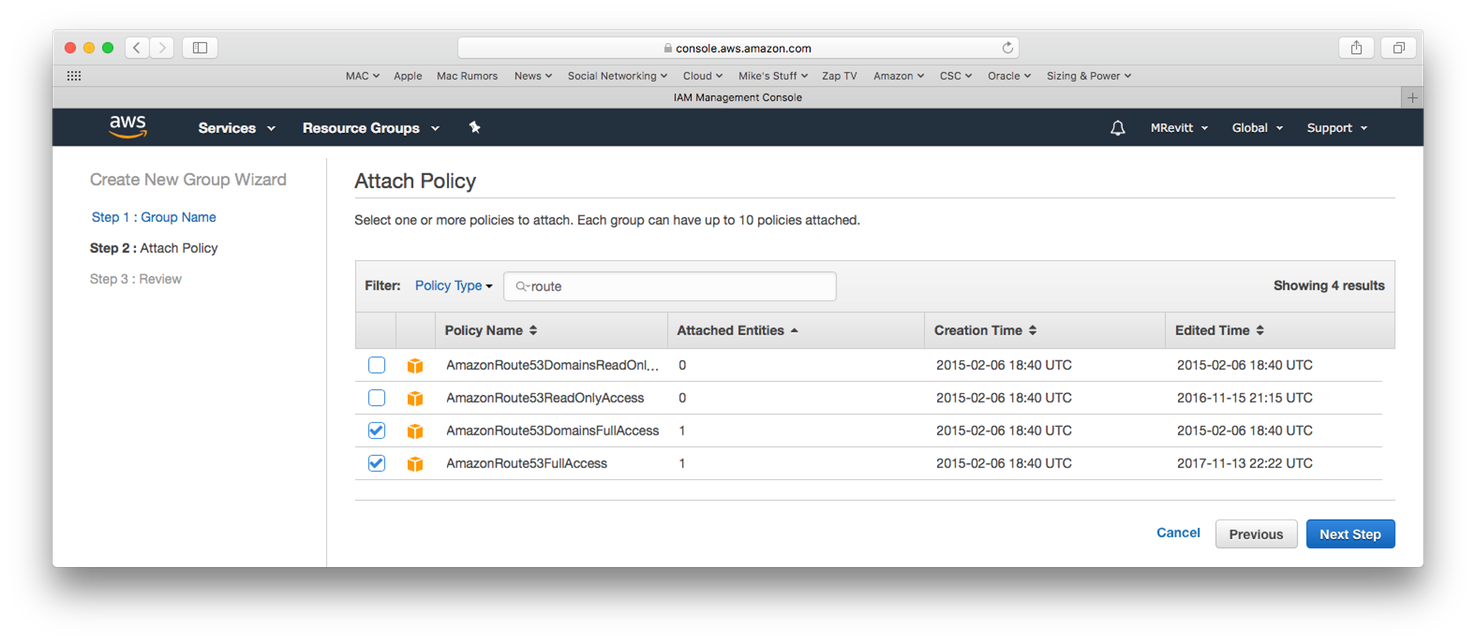
Select
Then press the Next Step button and Create the Group
Create New User
Now that we have the Security Group defined we can create a user, select Users in the left pane and press the Add user button
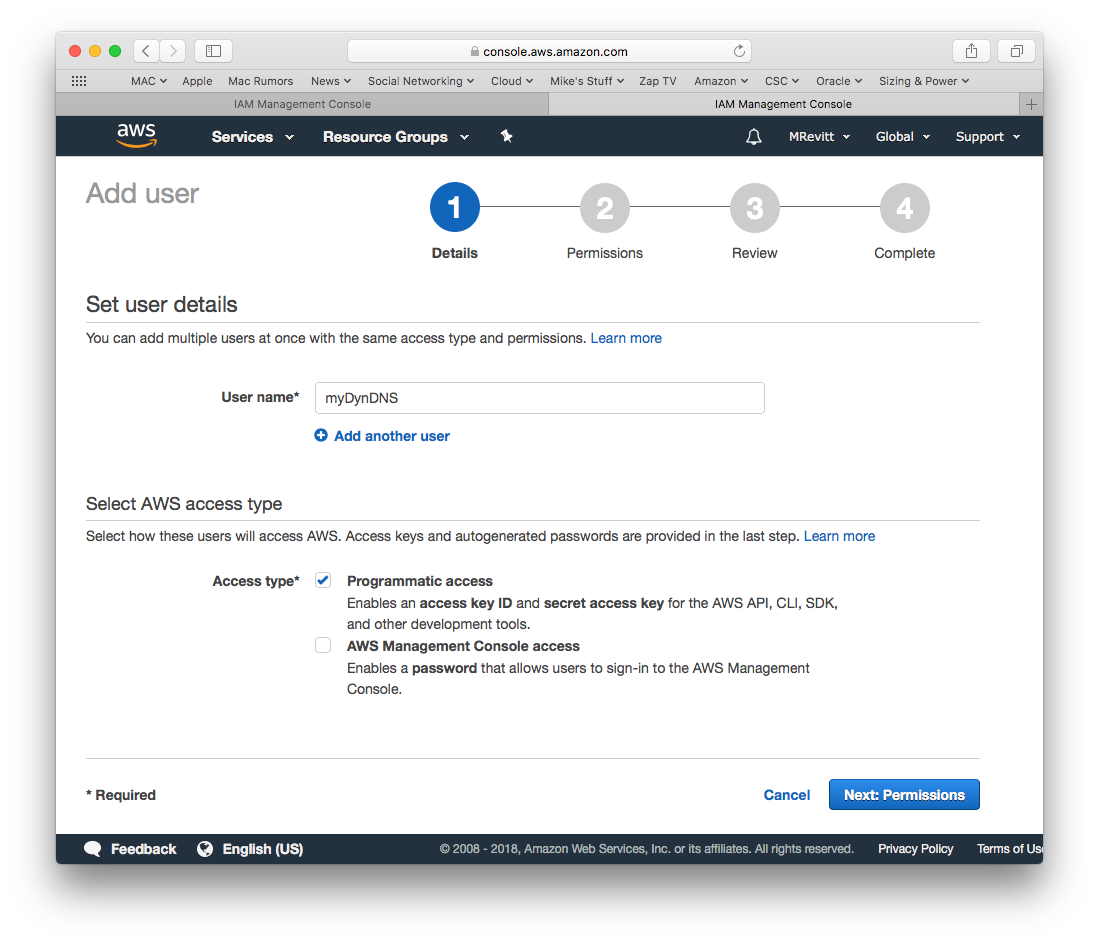
Enter the desired name for the User and set the Access type to Programmatic access and press the Next Permissions button
In this page you need to select the group which will be assigned to the new user, which is the one we created in the previous step
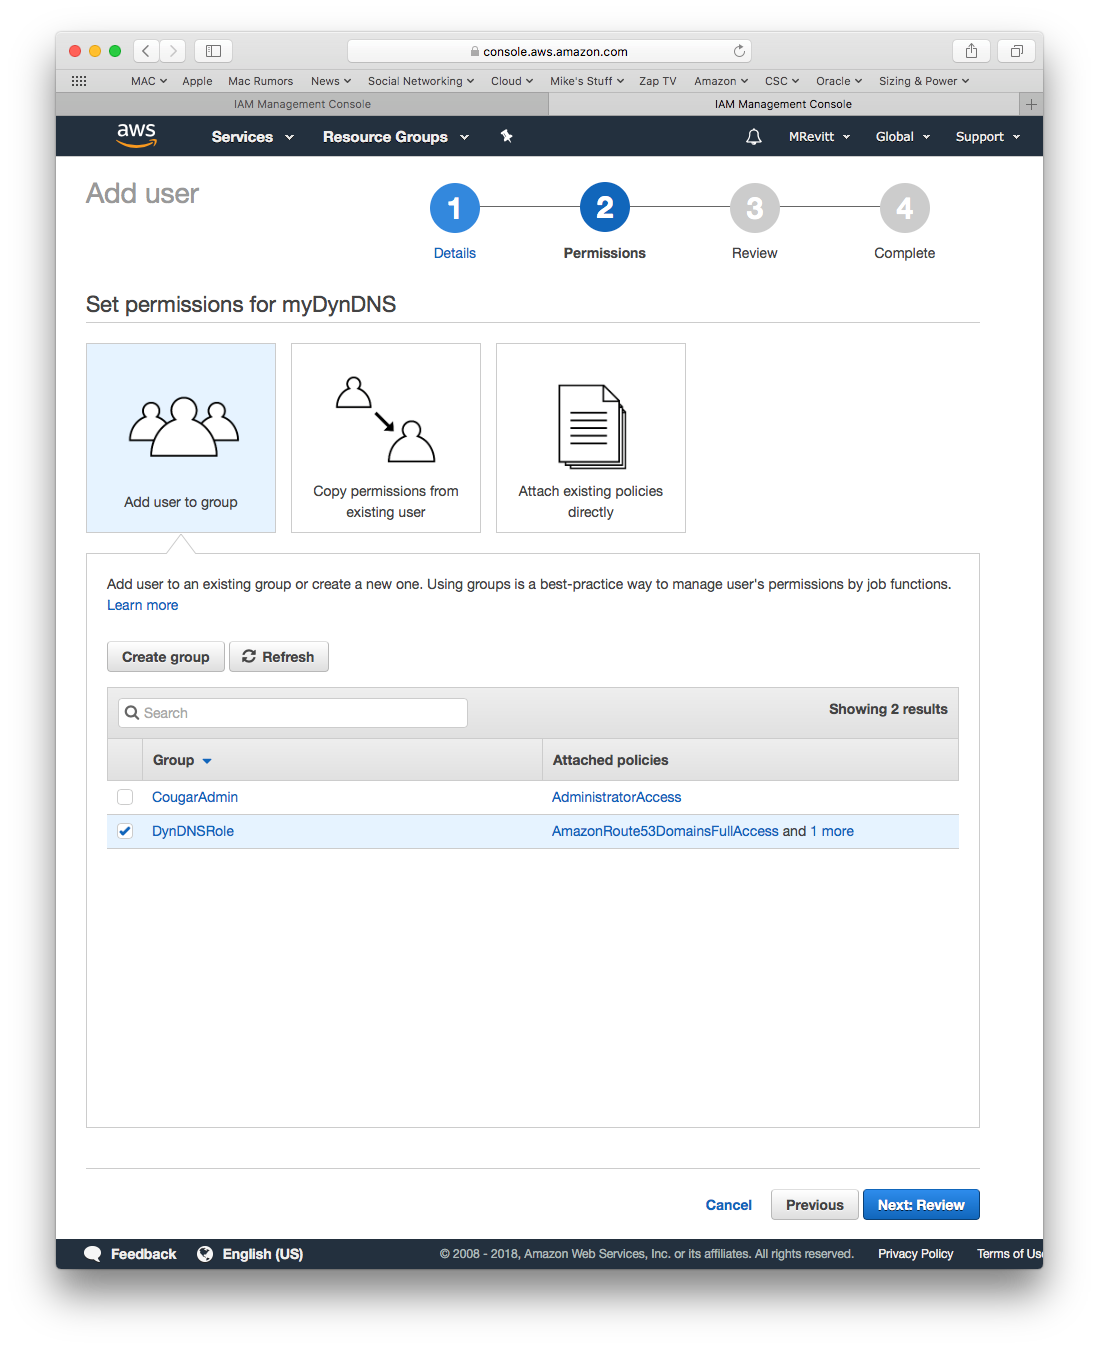
Select the correct Group and press the Next: Review button
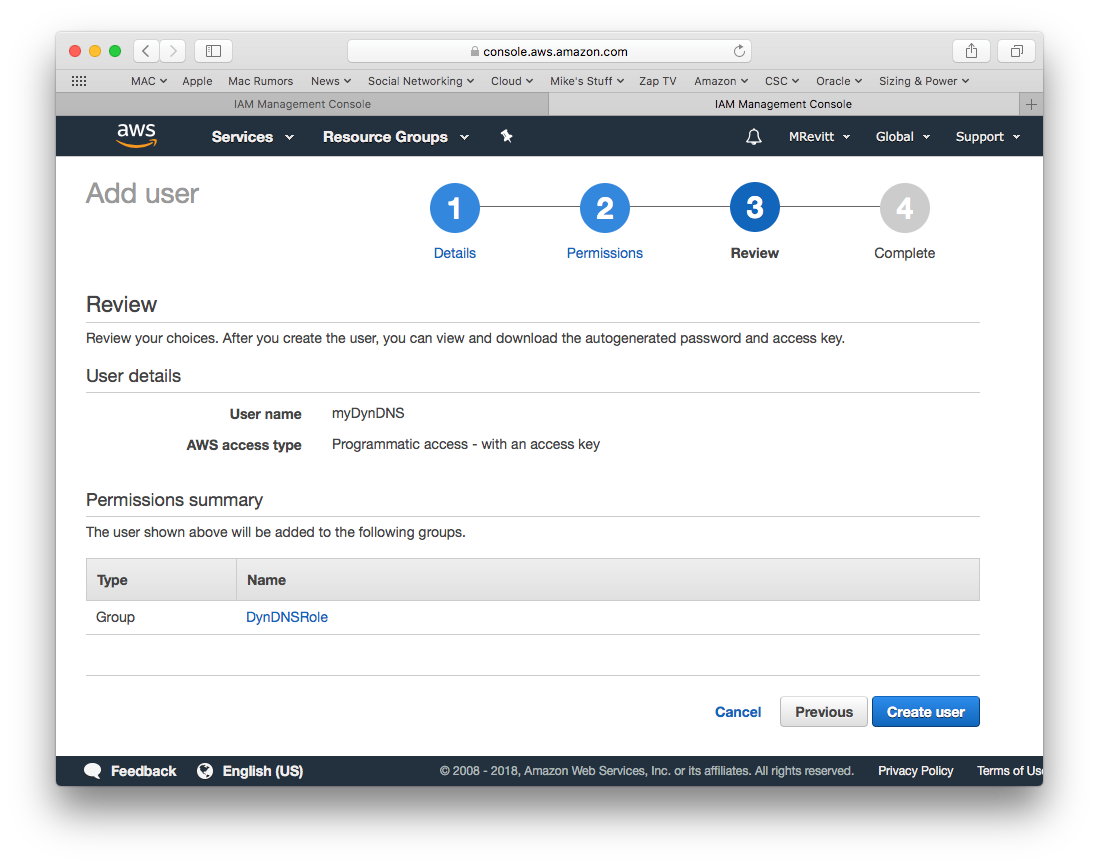
And then Create the user by pressing the Create user button.
Before continuing beyond this stage we need to go back to our host to configure aws.
DO NOT close this window till you have completed the next step.
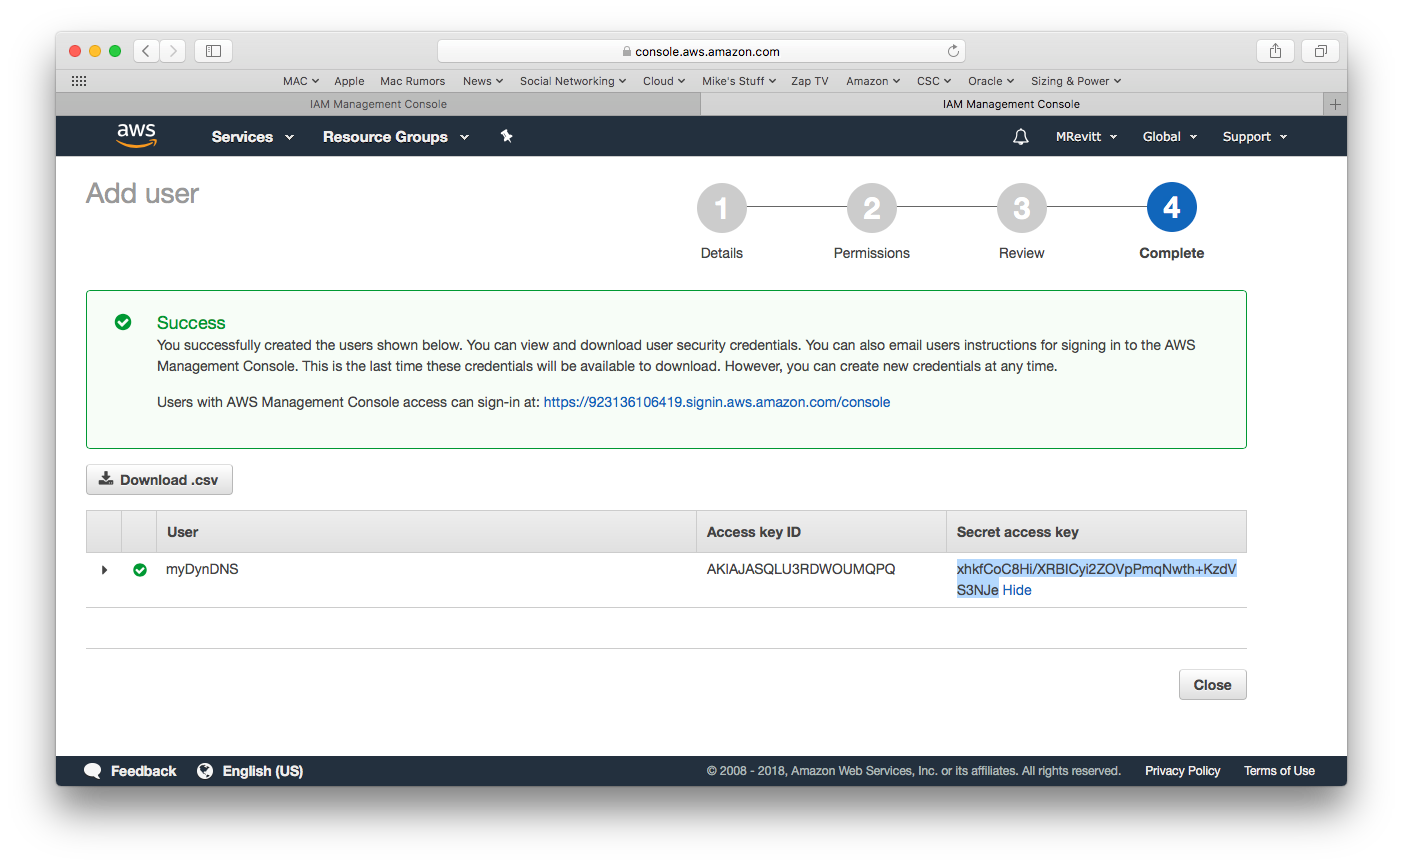
Press the Show button in the Secret access key section and then open a command line terminal on your host and run the configure command.
Configure AWS CLI on your host
The Access key ID and Secret access key are the ones shown above in the create user window that we have left open.
And before anyone is tempted to give it a go, these are not real keys. That user is long deleted 🙄
$ aws configure
AWS Access Key ID [None]: AKIAJASQLU3RDWOUMQPQ
AWS Secret Access Key [None]: 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
Default region name [None]: us-east-1
Default output format [None]: json
You can test this configuration with the following commands, if all worked as expected you should see a result similar to that below.
$ aws route53 list-hosted-zones
{
    "HostedZones": [
        {
            "Id": "/hostedzone/Z2ODFCQC5FMCKX",
            "Name": "myexample.com.",
            "CallerReference": "AD21335F-7156-6468-88F9-335D21E70D9C",
            "Config": {
                "PrivateZone": false
            },
            "ResourceRecordSetCount": 6
        }
    ]
}
Create a Shell Script to Update the IP Address in Route 53
This script is designed to be run manually or on a job scheduler, to replace DynDNS you will need to run this script from a scheduler and I will show you how to do this later.
$ vi DynDNS.sh

--------- Start File Here ---------
#!/bin/bash

# (optional) You might need to set your PATH variable at the top here
# depending on how you run this script
#PATH=/usr/local/sbin:/usr/local/bin:/usr/sbin:/usr/bin:/sbin:/bin

# Hosted Zone ID e.g. BJBK35SKMM9OE
ZONEID="XXXXXXXXXXXXXX" # This is the Hosted Zone ID from the main Hosted Zones page

# The CNAME you want to update e.g. hello.example.com
RECORDSET="www.myexample.com" # This is the Record Set Name which contains the IP Address

# More advanced options below
# The Time-To-Live of this recordset
TTL=300
# Change this if you want
COMMENT="Auto updating @ `date`"
# Change to AAAA if using an IPv6 address
TYPE="A"

# Get the external IP address from OpenDNS (more reliable than other providers)
IP=`dig +short myip.opendns.com @resolver1.opendns.com`

function valid_ip()
{
    local  ip=$1
    local  stat=1

    if [[ $ip =~ ^[0-9]{1,3}\.[0-9]{1,3}\.[0-9]{1,3}\.[0-9]{1,3}$ ]];
    then
        OIFS=$IFS
        IFS='.'
        ip=($ip)
        IFS=$OIFS
        [[ ${ip[0]} -le 255 && ${ip[1]} -le 255 && ${ip[2]} -le 255 && ${ip[3]} -le 255 ]]
        stat=$?
    fi
    return $stat
}

# Get current dir
# (from http://stackoverflow.com/a/246128/920350)
DIR="$( cd "$( dirname "${BASH_SOURCE[0]}" )" && pwd )"
LOGFILE="$DIR/update-route53.log"
IPFILE="$DIR/update-route53.ip"

if ! valid_ip $IP;
then
    echo "Invalid IP address: $IP" >> "$LOGFILE"
    exit 1
fi

# Check if the IP has changed
if [ ! -f "$IPFILE" ]
then
    touch "$IPFILE"
fi

if grep -Fxq "$IP" "$IPFILE";
then
    # code if found
    echo "IP is still $IP. Exiting on $(date)" >> "$LOGFILE"
    exit 0
else
    echo "IP has changed to $IP" >> "$LOGFILE"
    # Fill a temp file with valid JSON
    TMPFILE=$(mktemp /tmp/temporary-file.XXXXXXXX)
    cat > ${TMPFILE} << EOF
    {
      "Comment":"$COMMENT",
      "Changes":[
        {
          "Action":"UPSERT",
          "ResourceRecordSet":{
            "ResourceRecords":[
              {
                "Value":"$IP"
              }
            ],
            "Name":"$RECORDSET",
            "Type":"$TYPE",
            "TTL":$TTL
          }
        }
      ]
    }
EOF

    # Update the Hosted Zone record
    /Users/Mike/Library/Python/3.6/bin/aws route53 change-resource-record-sets \
        --hosted-zone-id $ZONEID \
        --change-batch file://"$TMPFILE" >> "$LOGFILE"
    echo "" >> "$LOGFILE"

    # Clean up
    rm $TMPFILE
fi

# All Done - cache the IP address for next time
echo "$IP" > "$IPFILE"
--------- End File Here ---------
Test your Shell Script
Now you can test the shell script which will update the IP address in Route 53 by simply running the ommands as shown below
$ chmod 555 DynDNS.sh

$ ./DynDNS.sh

$ cat update-route53.log
IP has changed to 123.123.123.123
{
    "ChangeInfo": {
        "Id": "/change/C2IAEH12YFHC3V",
        "Status": "PENDING",
        "SubmittedAt": "2018-01-04T14:02:50.574Z",
        "Comment": "Auto updating @ Thu  4 Jan 2018 14:02:49 GMT"
    }
}

$ ./DynDNS.sh

$ cat update-route53.log
IP has changed to 123.123.123.123
{
    "ChangeInfo": {
        "Id": "/change/C2IAEH12YFHC3V",
        "Status": "PENDING",
        "SubmittedAt": "2018-01-04T14:02:50.574Z",
        "Comment": "Auto updating @ Thu  4 Jan 2018 14:02:49 GMT"
    }
}

IP is still 123.123.123.123. Exiting on Thu  4 Jan 2018 14:05:29 GMT
If you want to test that it actually updated the IP Address, change the IP Address or TTL in Route 53 to something wrong, delete the update-route53.ip file and then re-run the commands above.