<<< MacOS 10.12 Sierra Guides >>>
Upgrading from El Capitan
As my iMac has recently suffered a fusion hard disk failure, the 3TB drive failed, I have only just performed a clean install of El Capitan. For this reason I decided to apply the upgrade process to my iMac server rather than run a full and clean install. Although I did still run a disk wipe and clean install on my MacBook Pro.
But this page is documenting the upgrade process for my iMac, which I must say was very straight forward with no unexpected errors.
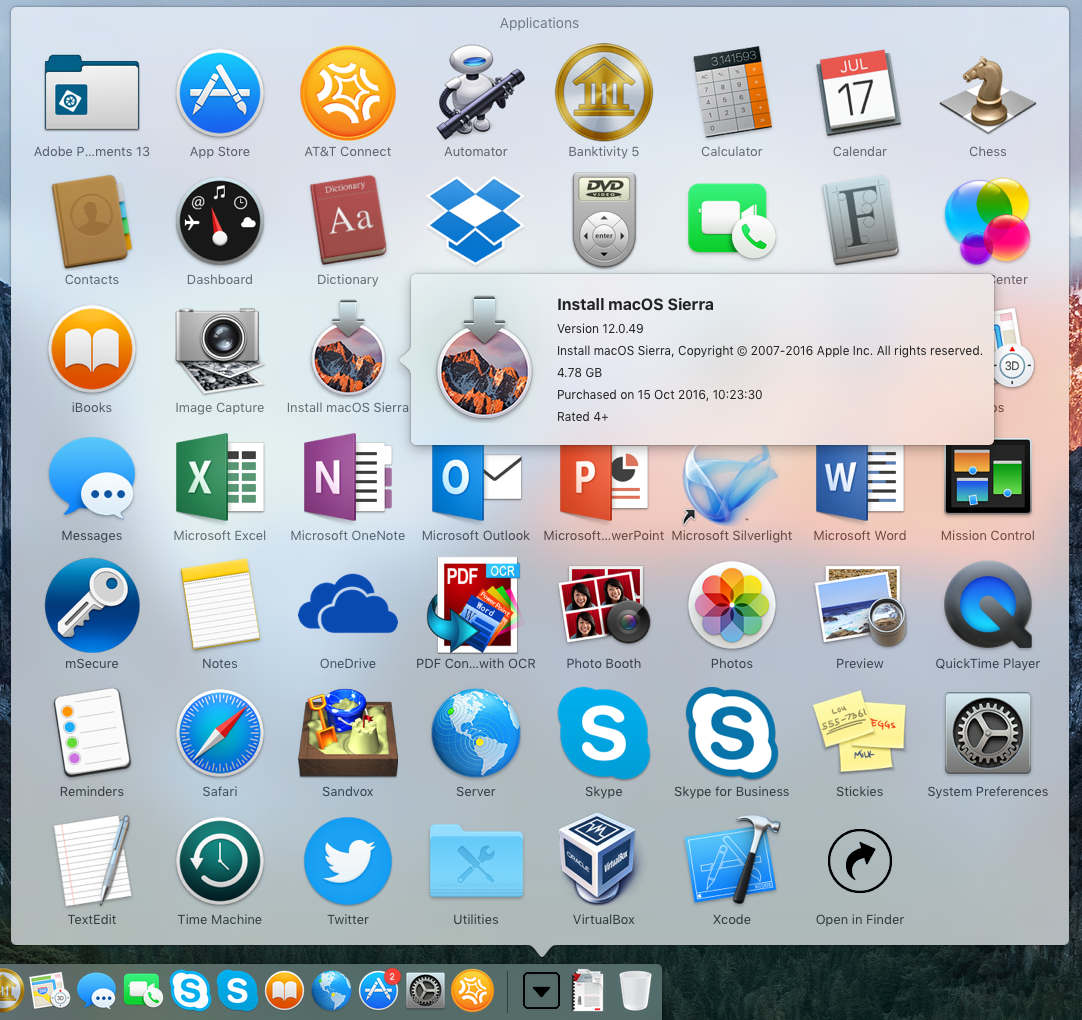
Installation couldn’t be simpler, first click the Install macOS Sierra icon in your applications folder
This will launch the upgrade process
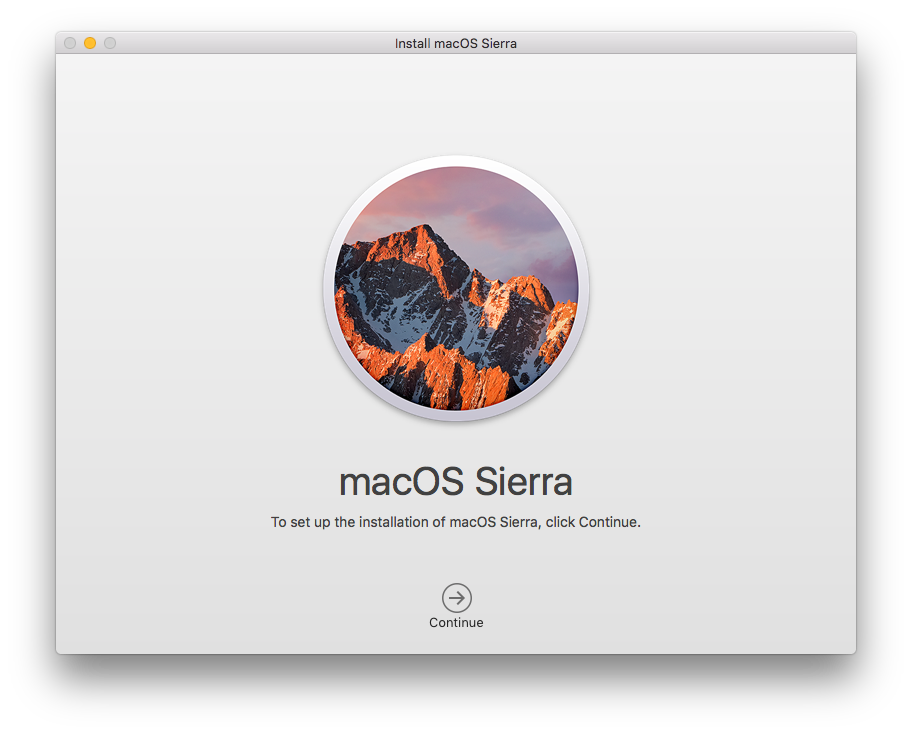
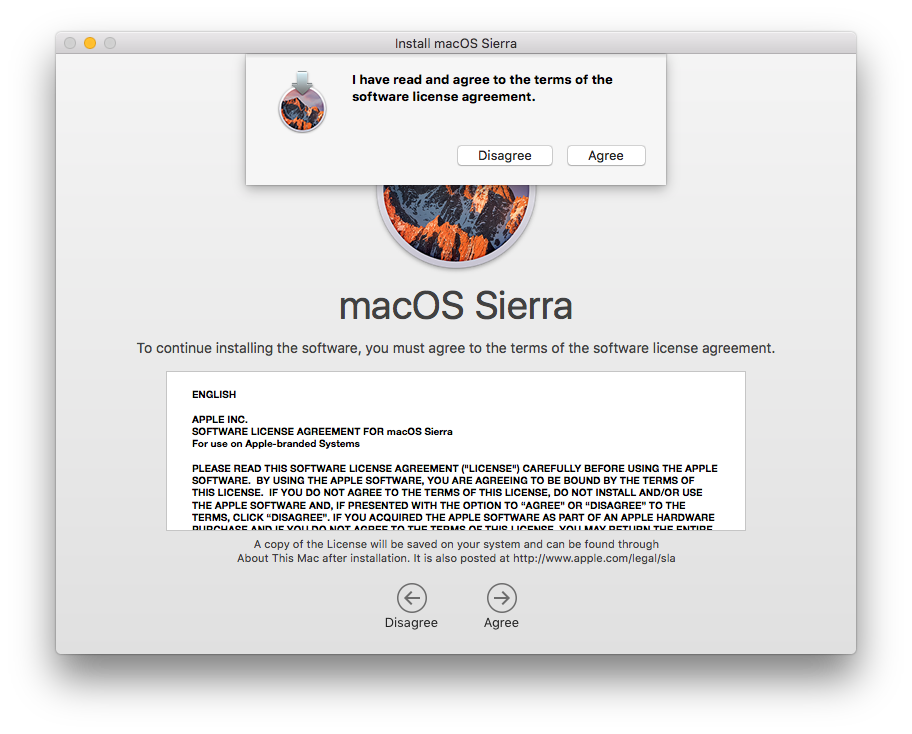
Click continue and accept the license agreement
You should accept the suggested disk as the destination location
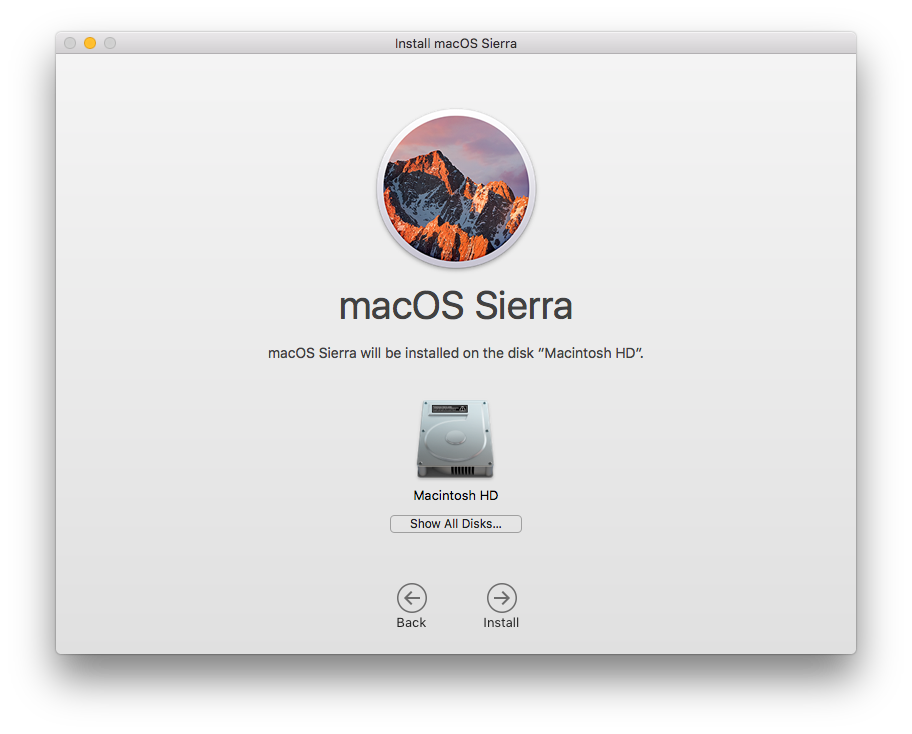
But have the options to show all available disks if you want to install to a different location
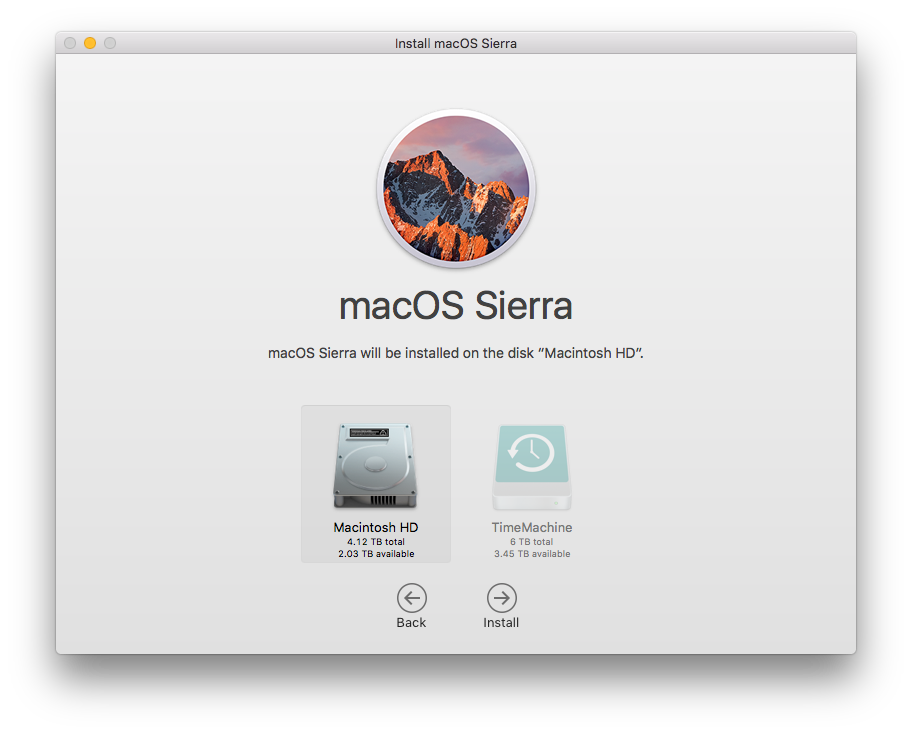
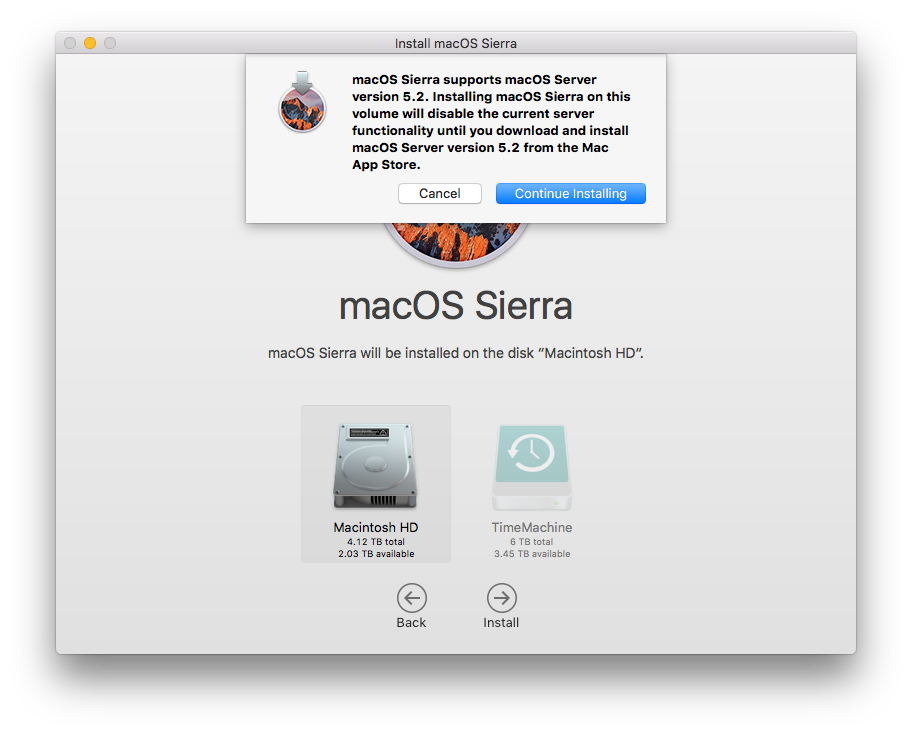
Once the destination is chosen you simply Continue Installing
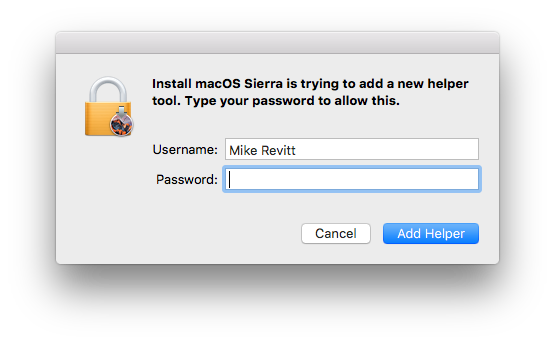
I have no idea what the helper tool is, this is the only time it was referenced during the entire upgrade process, but it required authorisation to install so go ahead and enter your password
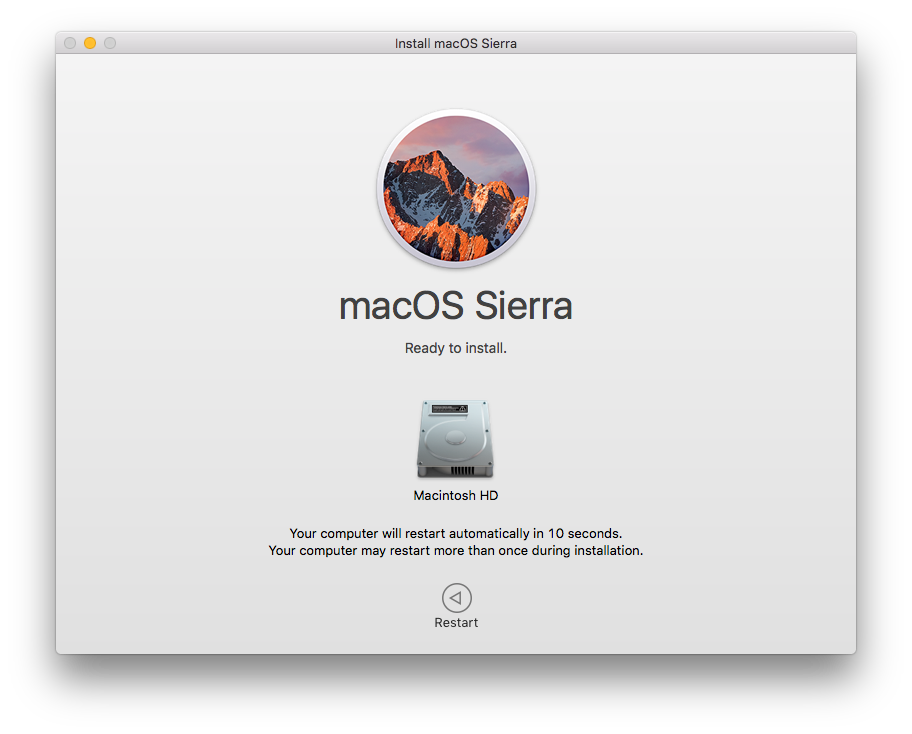
Then wait, and trust me, it does not take 49 seconds 😂😂
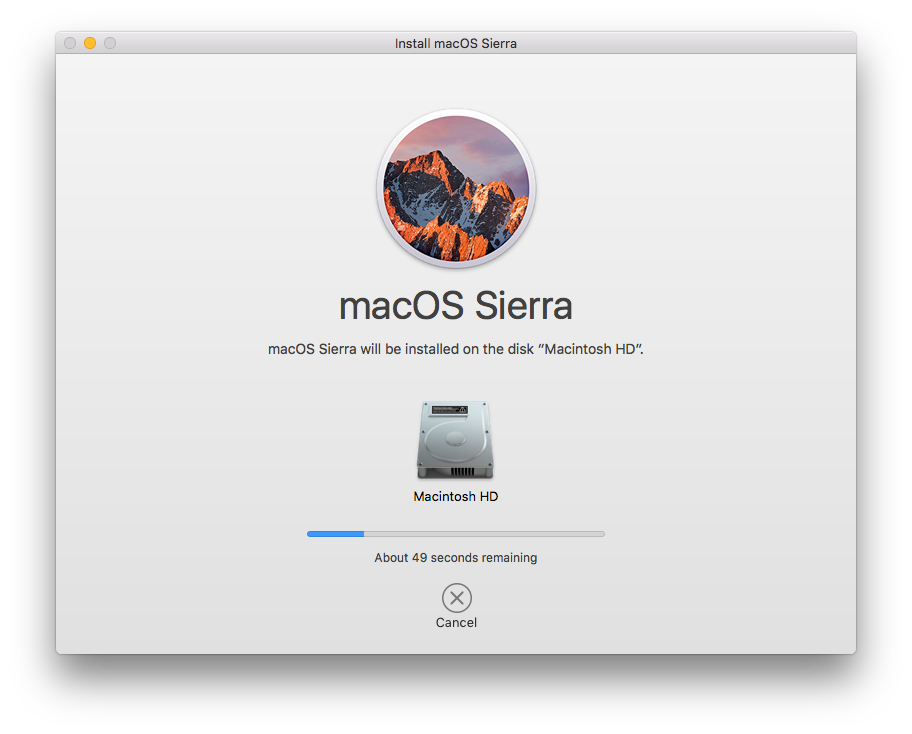
After 45 seconds, or so, your mac will reboot and then spend a long time upgrading
After what seems like a very long time, because it was for me as I have a slow internet connection, you will arrive back at the new login screen
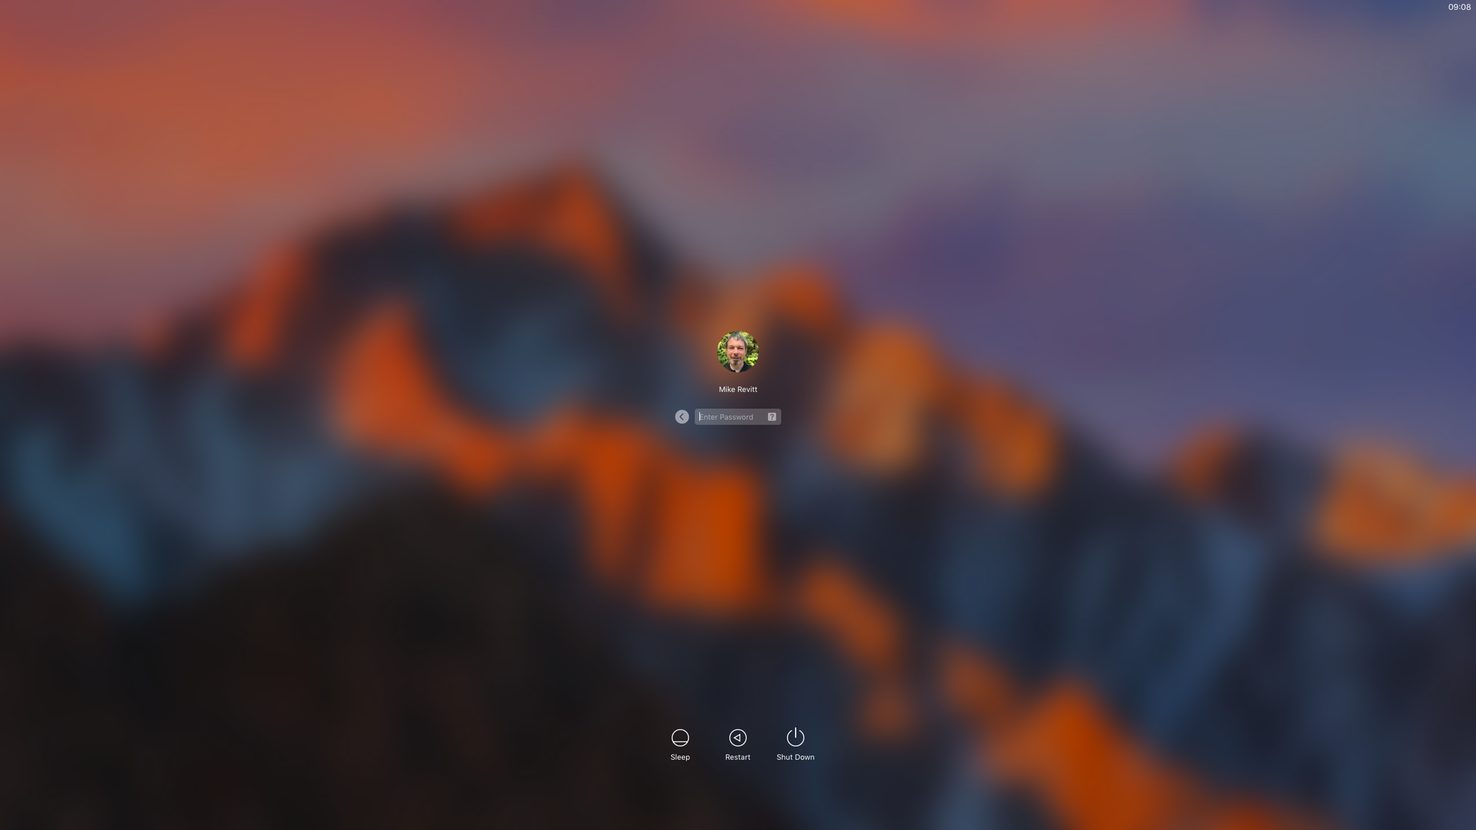
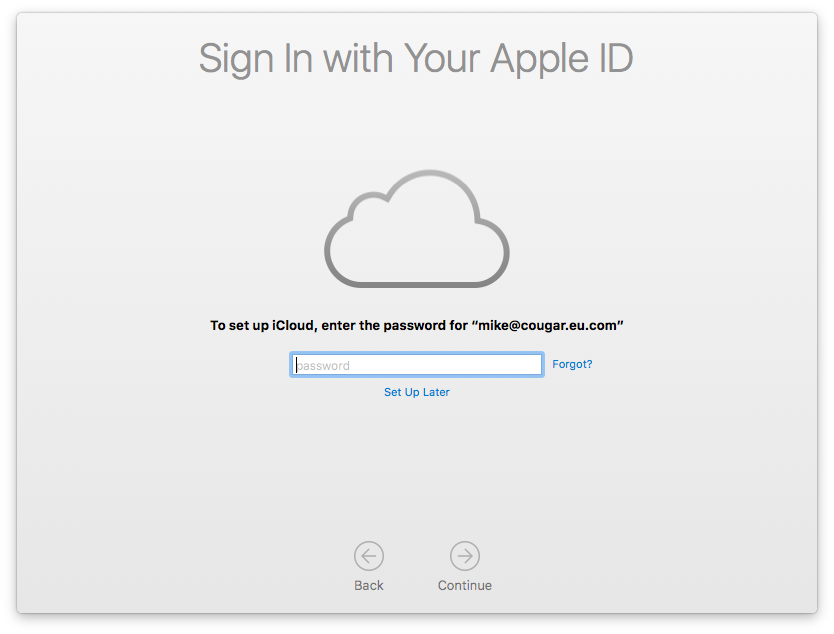
Log on and you will be asked to also sign in with your Apple ID, this step is optional but I always add it.
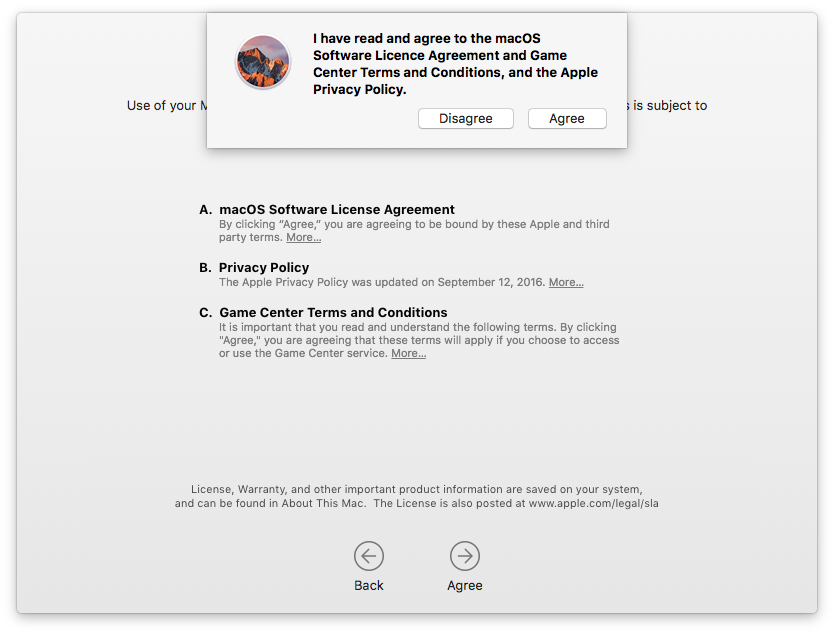
As always you have to accept the Terms and Conditions, not sure what happens if you say no - guess you get a very pretty paper weight 😎
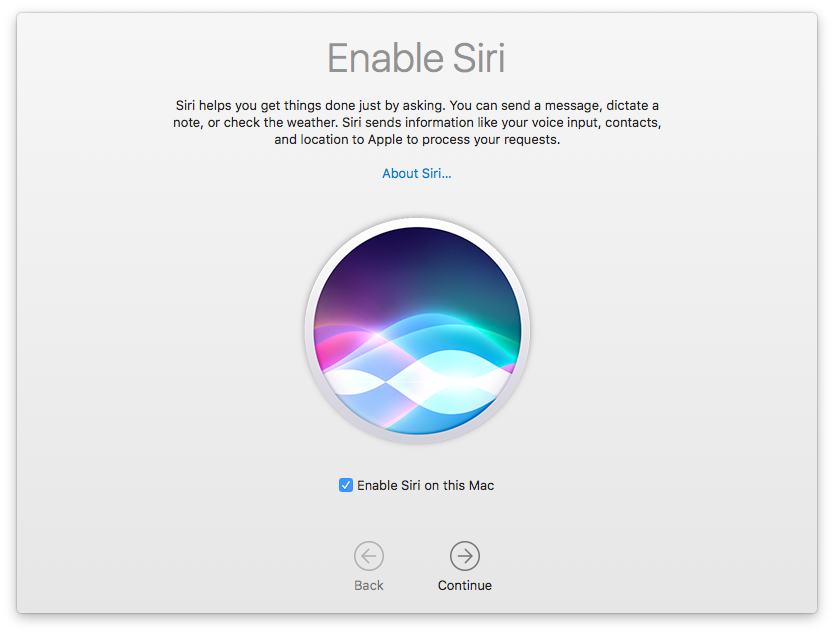
One of the new features of Sierra is Siri, not sure how usefull this is going to be, but I enabled it anyway
And then you are in
Apple then does some stuff behind the scenes and that is it, all done.
Enjoy !!!