<<< Migrating from Mavericks >>>
Installing a New Version of Yosemite Server
As soon as you have completed installing Yosemite, the follow step will complete the installation of the new Yosemite Server.
Preperation
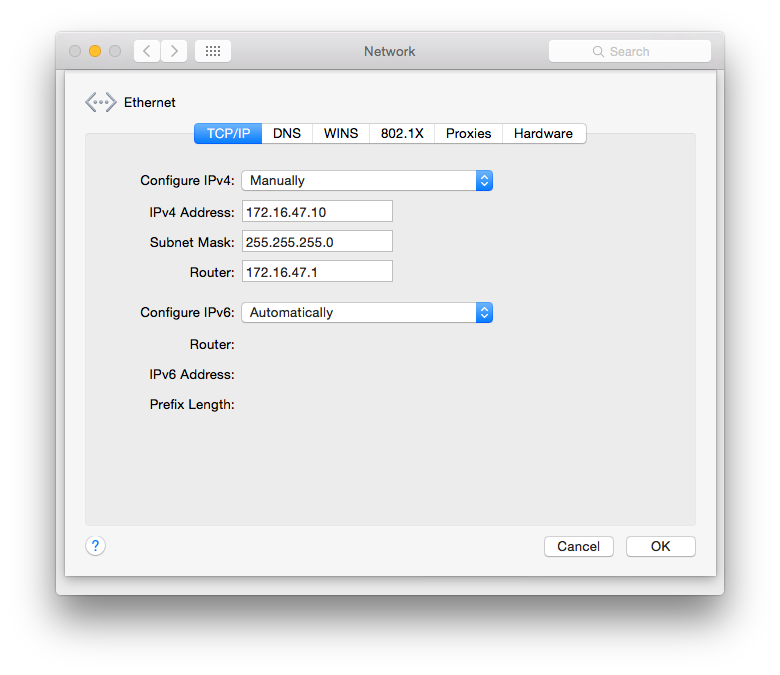
The first thing you need to do is open up Network Preferences and setup the network to a static IP address
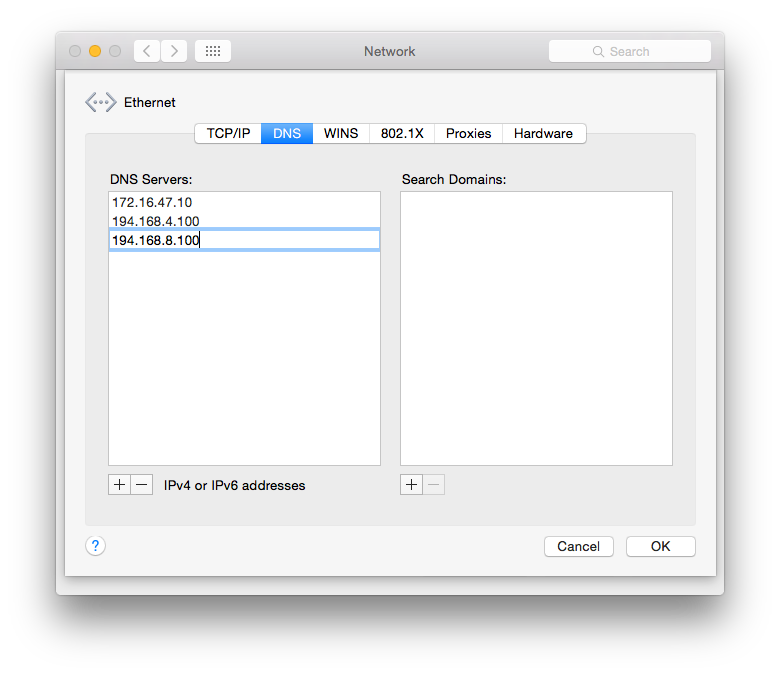
And don’t forget to setup the DNS Servers as they will no longer be inherited
- These are the DNS servers for sky.com
- You may need to check which DNS servers your ISP provider uses and adjust accordingly
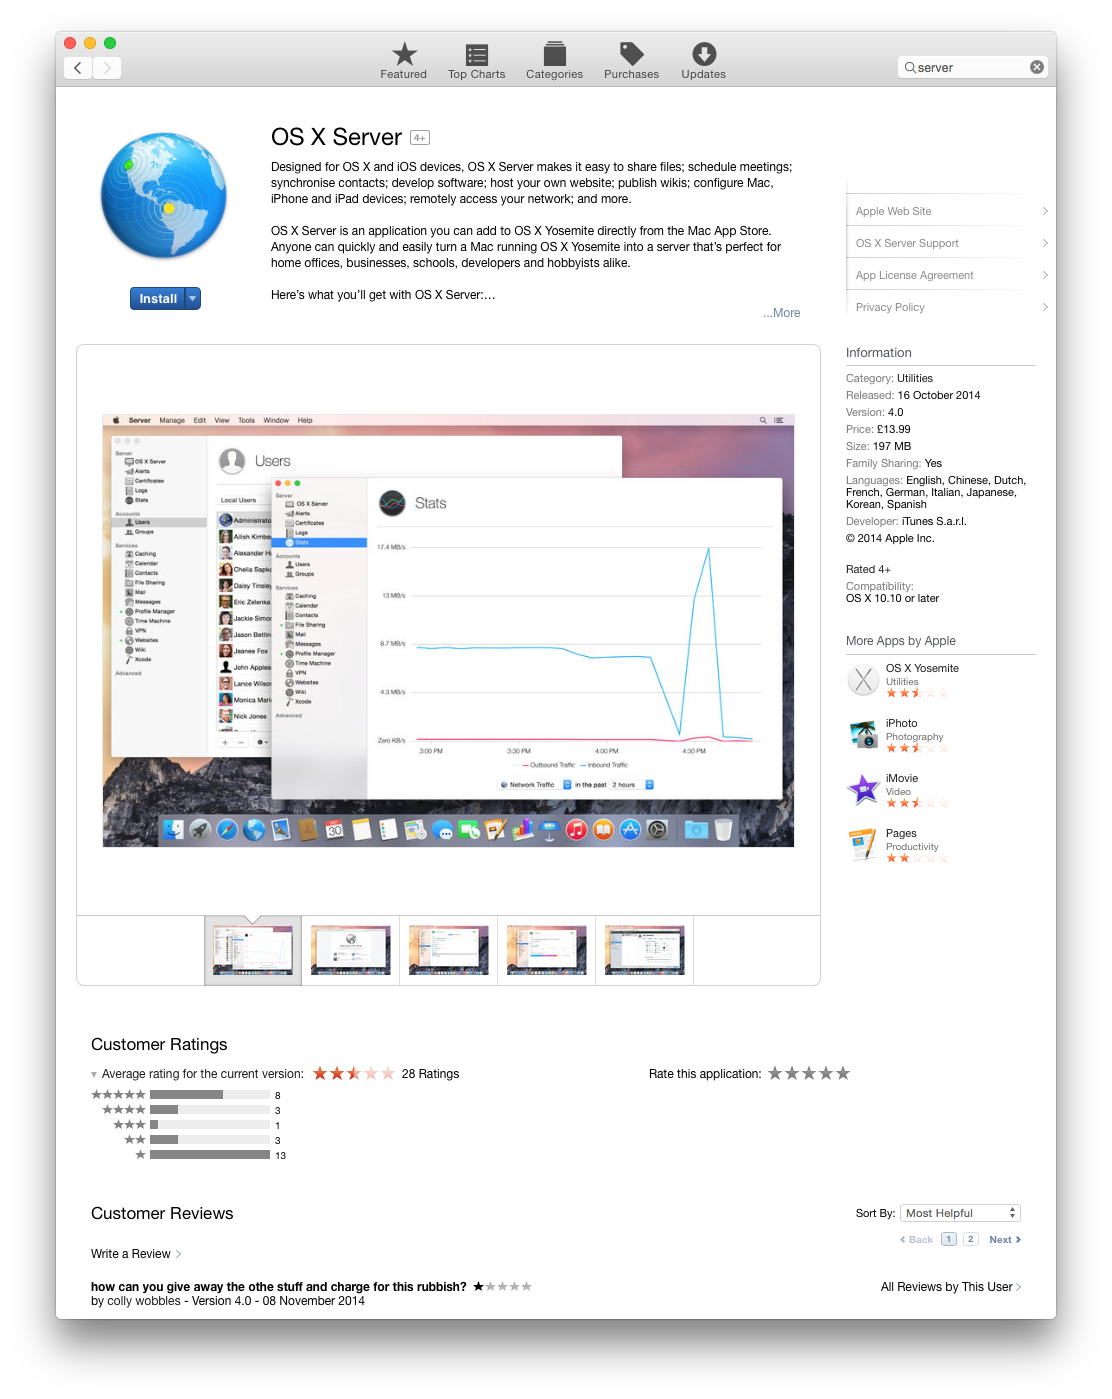
Next you need to go to the App Store and download OS X Server
- This has a UK cost of £13.99
- And is a relatively small download so doesn’t take too long
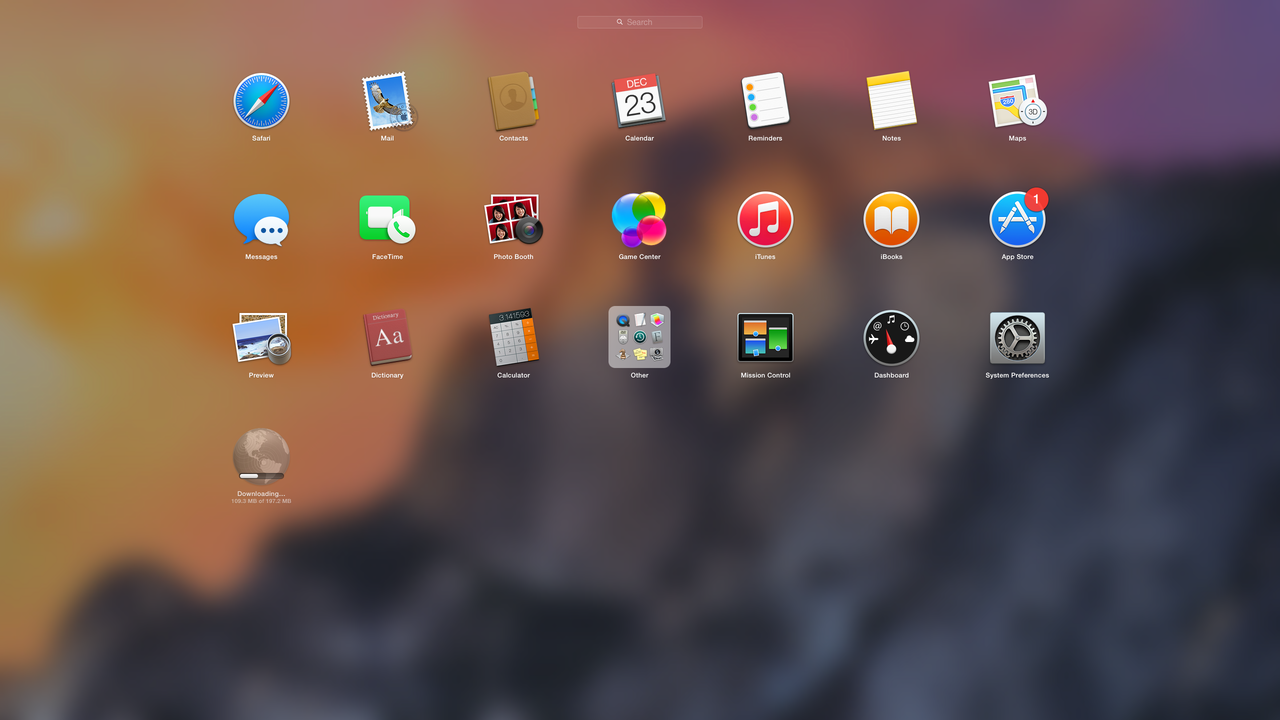
You can check the progress of the download via the app that is accesible on the Launchpad
Configuration
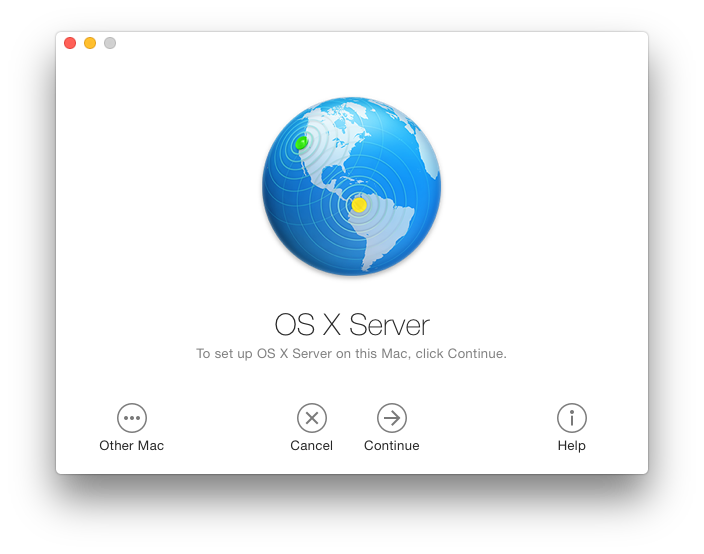
Once the app has finished downloadind and installing you need to start it for the first time
- As part of the initial start you need to Agree to the software license terms
- This in turn will result in a number of configurations taking place.
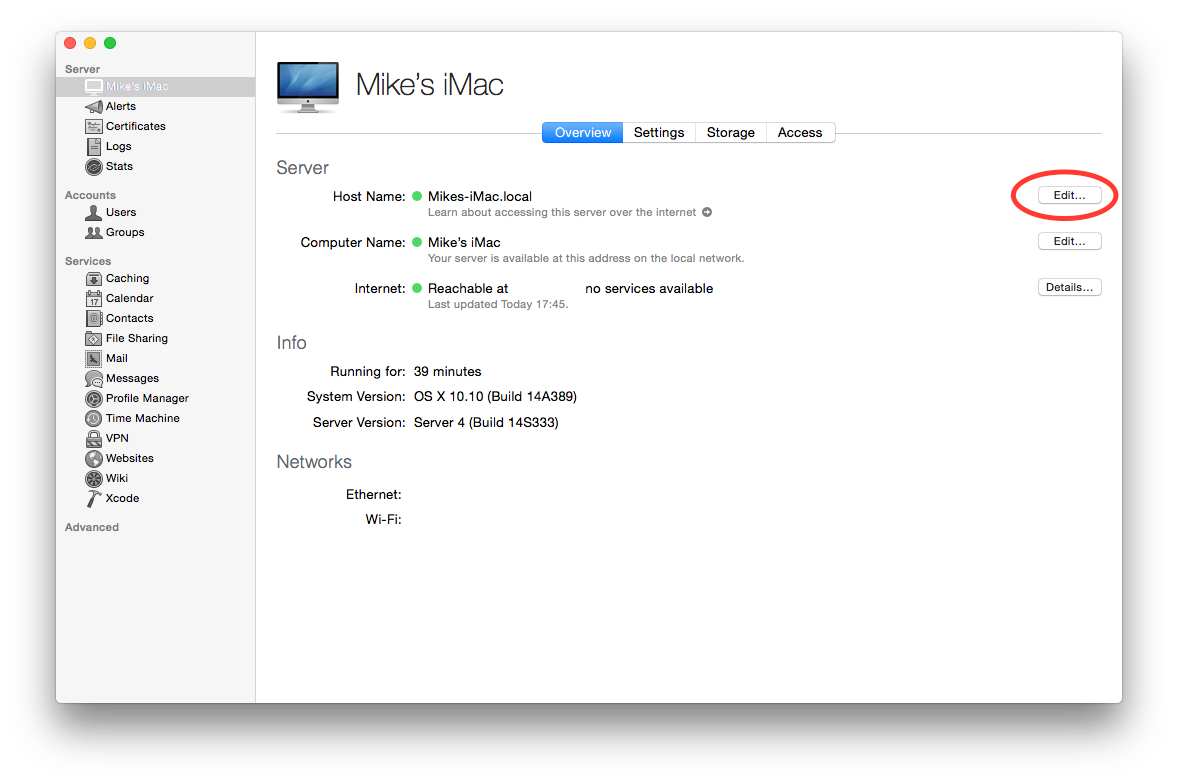
The frst thing to do one the install has finished is to set the Host Name of the server
- Press the edit button and fill in the necessary details
Decide on how you will be accessing your server, in my case I will be accessing it from the Internet, so I choose that option.<\p>
- Note that I had to set the Host name to the name that I have registered wth DynDns for my Email service.
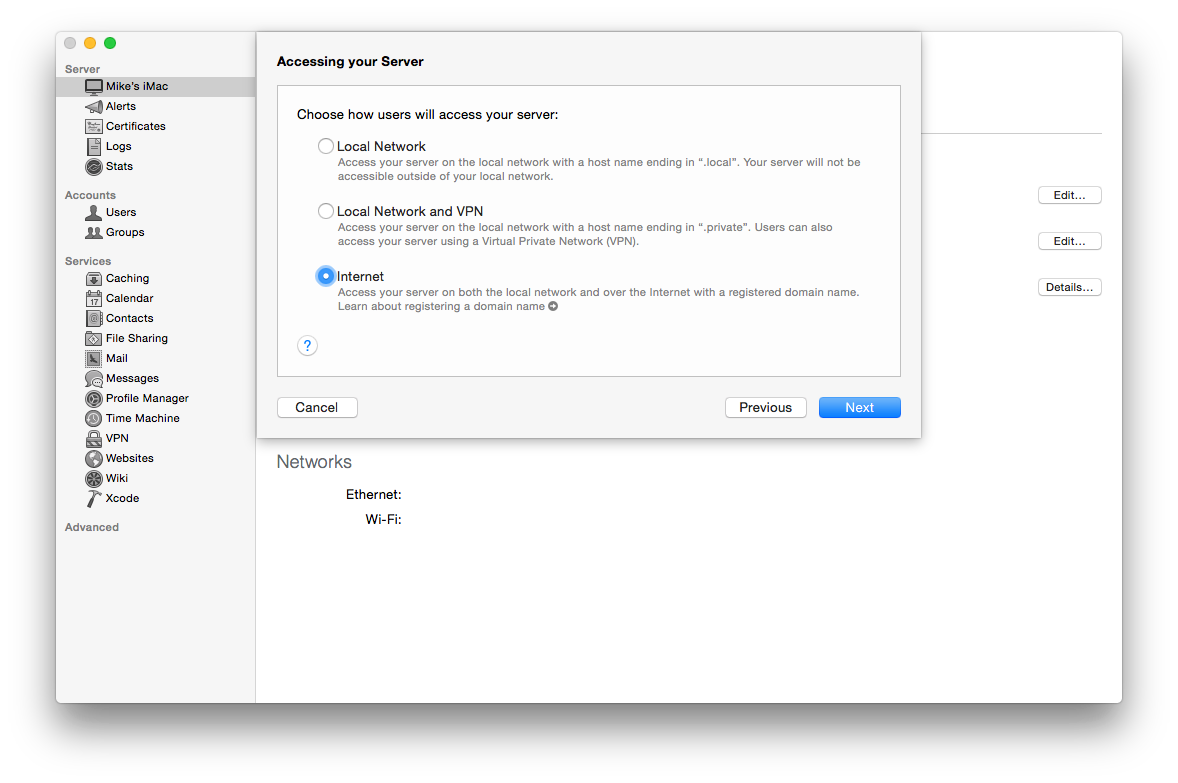
Enter all the required data, and accept the option to Set Up DNS an complete the process

It is advisable to restart the Server at this point to ensure that everything is correctly configured in memory
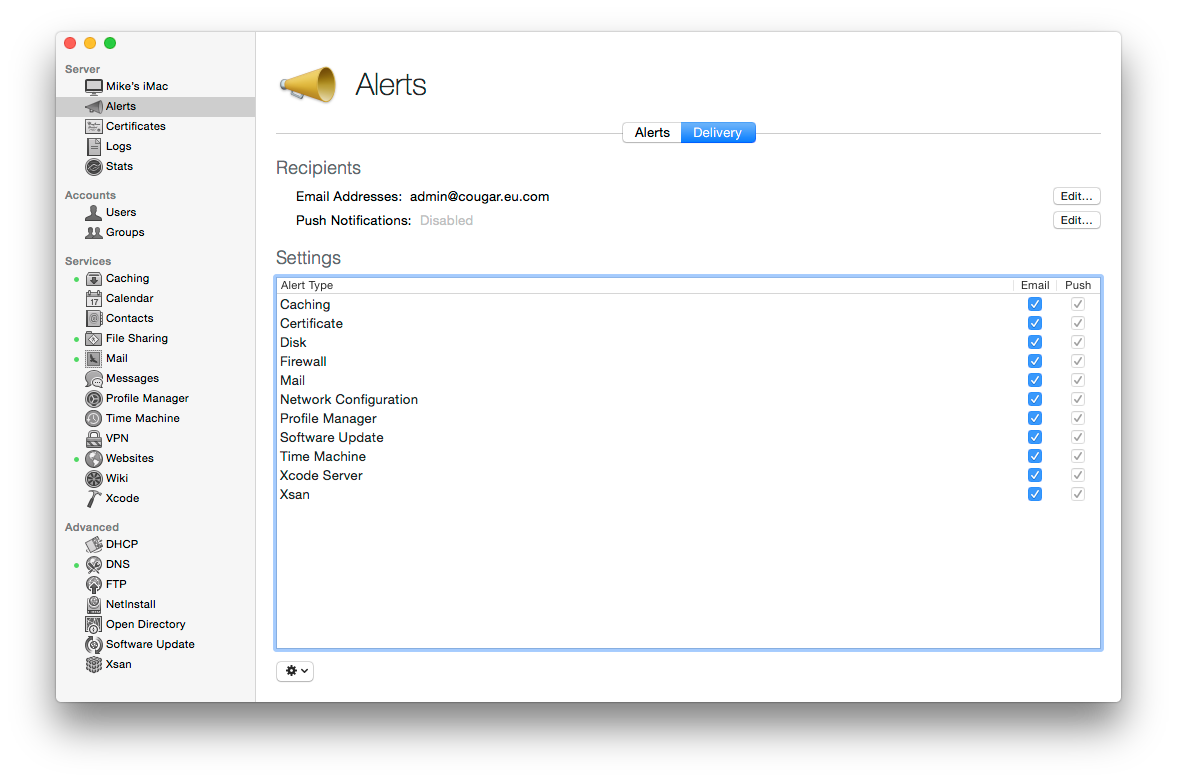
Setting up Alerts
It is likely that you will want to be notified when things go wrong, to do this you need to setup an Email address in the alerts section of the server app
This complete the basic installation of OSX Server.
All that remains is to restore all of the data from the previous installation, this is shown in the next sections